Chinese home style · Sauces & Basics
Homemade Soy Yogurt (自制酸豆乳)
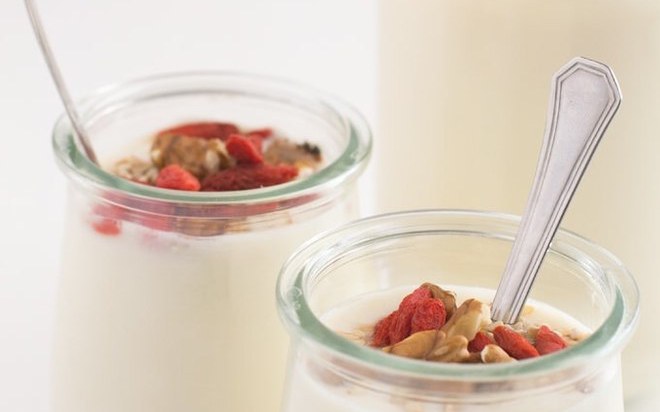
Thick, tangy soy yogurt from four ingredients — soybeans, water, honey and a starter — incubated right in your oven at 43°C, no yogurt maker needed.
Instructions
-
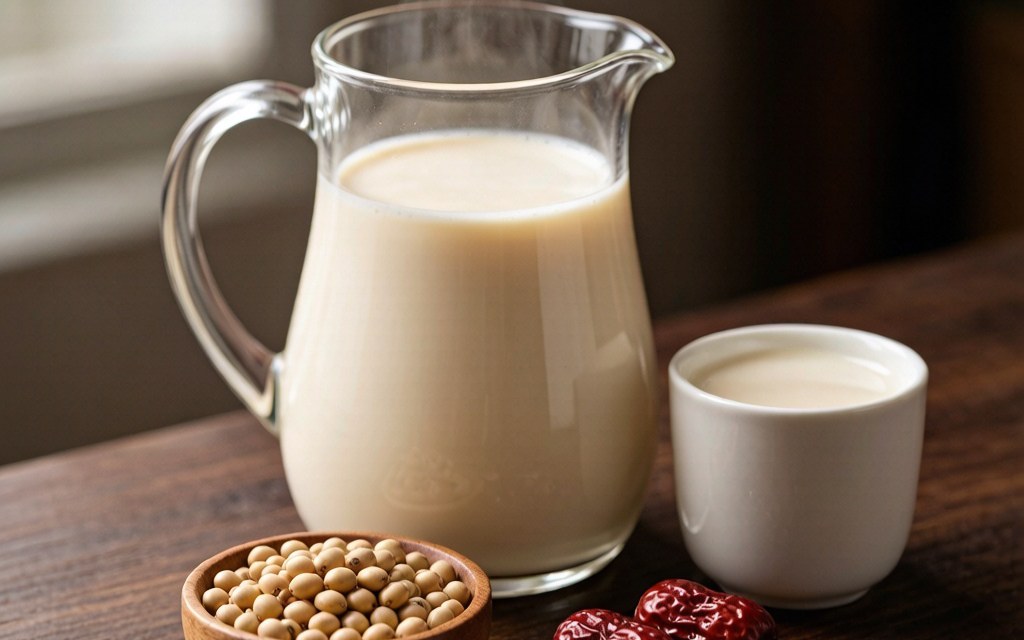
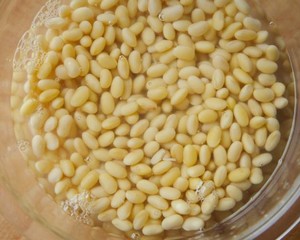
 Rinse the soybeans well, then cover them with water by 2 inches (5 cm) and soak overnight at room temperature — 10 hours is typical, and up to 18 is fine. They should swell to smooth ovals.
-
 Drain the beans. Pour 2½ cups (650 ml) of the measured water into a large pot and set it over medium-high heat to warm while you blend.
-
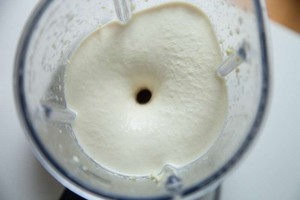
 Blend the beans with the remaining 2 cups (500 ml) water on high for 1–2 minutes, until the mixture looks exactly like a milkshake. Pour it into the warming pot, then rinse the blender with the last ¼ cup (60 ml) water and add that too — no bean puree left behind.
-
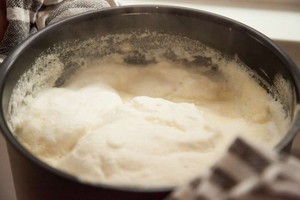
 Cook for 3–6 minutes, stirring the bottom constantly with a wooden spatula so nothing scorches. When the mixture starts foaming — a thick, frothy head like a pint of stout — pull the pot off the heat at once and stir to deflate. Soy milk boils over in seconds, so do not walk away.
-
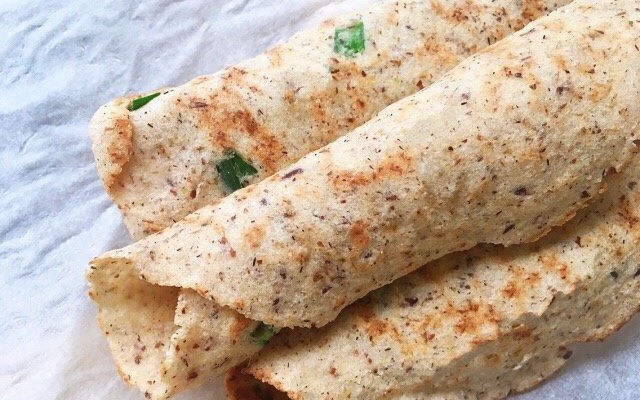
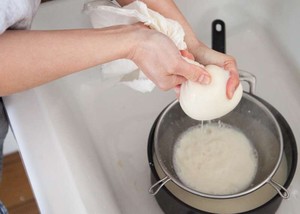
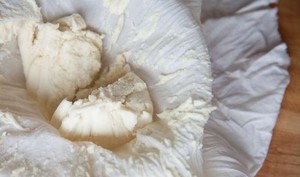
 Set a nut-milk bag or a colander lined with two layers of cheesecloth over a bowl. Pour in the cooked mixture and squeeze firmly; you should collect about 4 cups (1 L) of soy milk. Save the pulp (okara) for pancakes or steamed-bun batter.
-
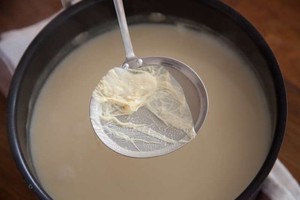
 Return the strained soy milk to the pot and simmer over medium-high heat for 5 minutes, stirring often and skimming off any skin that forms on the surface. This second boil fully cooks the milk and gives the finished yogurt a cleaner taste.
-
 Cool the milk to 45°C (113°F), then stir in the honey until dissolved — its simple sugars are what let the yogurt cultures multiply, since soy milk has none of its own.
-
 Cool further to 40°C (104°F) — it should feel hot but not burn your finger — then whisk in the starter or live soy yogurt until completely smooth. Pour into clean glass jars and place them, uncovered, in your incubator setup.
-
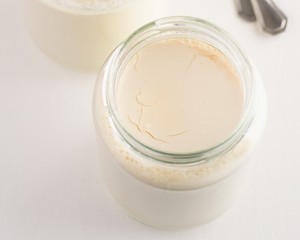 Incubate at 43°C (110°F) for at least 8 hours: an oven on bread-proof mode or its lowest setting, a yogurt maker, or an Instant Pot on the Yogurt cycle all work. Do not open the oven during incubation — every draft resets the temperature the cultures depend on.
- Cover the jars and refrigerate. The yogurt keeps thickening as it chills; it is ready to eat after 4 hours and gets tangier over the following days.
Why this recipe works
Soy yogurt fails where dairy yogurt succeeds for one obvious reason — no milk sugar — and this recipe is engineered around that fact.
1. Honey bridges the sugar gap. Yogurt cultures are picky eaters: they convert lactose into lactic acid in milk, but soy milk contains only trace sugars. Stirring in a spoon of honey at 45°C (113°F) gives the culture something to ferment, which is the difference between a jar that thickens and a jar that just sits there. This is the recipe's one non-negotiable ingredient.
2. Two boils, one clean taste. The first cook, done before straining, bursts the bean cells so the blender can extract everything. The second, after straining, is the one that matters for flavor: five minutes at a simmer cooks off the raw, grassy notes and pasteurizes the milk so the yogurt culture arrives as the only microbe in town. Skimming the skin matters too — that film is where off-flavors concentrate.
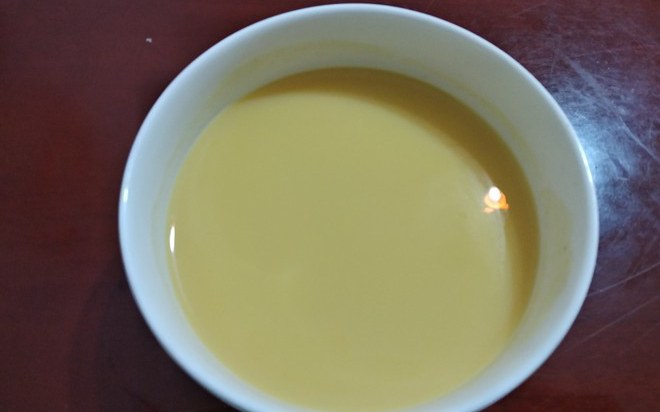
3. Temperature windows, kept honest. The culture needs 40–43°C (104–110°F): cooler and it stalls, hotter and it dies. The recipe gives you the finger test as a fallback, but the real safeguard is incubating in a closed oven on proofing mode, where drafts cannot reach the jars. Eight hours later the soy proteins have set into a soft gel — slightly looser than dairy yogurt, which is normal, since it is the proteins alone doing the setting.
About the dish
China has fermented soy milk for centuries in the form of fermented tofu and sour soy drinks, but spoonable soy yogurt is a modern import, riding the plant-based wave from the West. It is now a fixture on Chinese supermarket shelves beside dairy yogurt, marketed at the lactose-intolerant and the vegan-curious alike.
This recipe adapts two well-known Western sources — a vegan blog's oven-incubation method and a chef-built scratch soy milk process — and reads like the notebook of a home cook who gave up dairy for skin reasons and refused to give up yogurt with it. The result is quietly practical: no yogurt maker, no special milk, four ingredients, and a fridge staple for a week of breakfasts. Like dairy yogurt, it rewards patience: longer incubation means more tang, and straining the finished yogurt through cheesecloth gives you a thick, Greek-style spoonable without additives.
What to serve with it
Eat it cold from the jar with honey, granola or fresh fruit for breakfast. A dollop turns a dessert table respectable, and it stands in for sour cream on anything savory — including a plate of stir-fry leftovers reheated for lunch. Spoon it over overnight oats, blend it into fruit smoothies, or swirl in a little jam for kids who won't touch plain. Mango and a spoon of honey turns it into a lassi-style drink. It also suits anyone making soy yogurt without a yogurt maker — the closed oven incubates overnight while you sleep, and a batch keeps about a week refrigerated, so breakfast mostly makes itself.
Pro tips
- Honey is not optional flavoring here: the cultures need simple sugars because soy milk has almost none. Maple syrup works; non-caloric sweeteners do not, since nothing feeds on them.
- Reserve ½ cup of each batch as the starter for the next one — the culture weakens after a few generations, so refresh with store-bought soy yogurt every 3–4 batches.
- A thermometer removes all guesswork, but the finger test is reliable: 40°C (104°F) feels like a hot bath — noticeably hot, but you can hold your finger in it.
- If the finished yogurt separates into curds and clear whey, it over-fermented or incubated too warm. Stir it back together; it is still perfectly good.
- An oven light alone usually holds only about 30°C (86°F) — too cool. Use the proofing setting, or set the jars in a water bath at 43°C and refresh with hot water hourly.
- Make the soy milk from scratch even if you usually buy it: store-bought brands often contain stabilizers and are pasteurized at ultra-high temperatures, both of which can slow fermentation.
Storage & leftovers
- Refrigerate covered for up to 1 week — it grows more sour over time.
- Stir before serving; a little clear whey on top is normal separation, not spoilage.
- Do not freeze: thawed soy yogurt separates into a grainy, watery texture that cannot be fixed.
Frequently asked questions
Why does soy yogurt need honey when dairy yogurt does not?
Milk sugar (lactose) is what dairy yogurt cultures eat; soy milk has none. A spoon of honey supplies fermentable sugars so the culture actually multiplies instead of starving.
Can I use regular dairy yogurt as the starter?
Usually it fails — most dairy yogurt cultures depend on lactose and do not thrive in soy. Use a starter powder labeled for non-dairy milk or a live plant-based yogurt.
My yogurt never thickened. What went wrong?
The usual culprits: a dead starter (check the label for live cultures), milk that was too hot when the starter went in (above 46°C / 115°F kills cultures), or incubation below 38°C (100°F).
How sour should it be?
At 8 hours it is mildly tangy and milky; at 12 hours it is sharp, closer to Greek yogurt. Longer incubation simply means more of the sugars have been eaten — stop when it tastes right to you.
Is the leftover okara really useful?
Yes — fold it into pancake batter, meatballs or steamed-bun dough. It is mild, high in fiber and protein, and freezes well.
Can I flavor it before incubating?
No — add vanilla, jam or sugar only after chilling and setting. Anything extra in the jar competes with the culture during incubation.
Can I incubate it without a yogurt maker?
Yes — that is exactly what this recipe does: jars go into a closed oven on proofing mode at 40–43°C (104–110°F). Keep the door shut so drafts cannot cool the jars, and resist opening it to peek before the 8-hour mark.